Directory structure
- Create a new Phoenix project
- Create a new React project
- Overview of directory structure
This app is separated into two pieces: the frontend and the backend. This separation should be familiar to you, as it is the general structure of just about every app. The frontend will be built with React, and the backend with Phoenix.
The first thing we're going to do is create a directory (also known as a "folder") with the name of our app. The app we are building is a clone of the Acquire functionality of Intercom.io. You've probably seen it before--it's the little chat bubble on the bottom right of many websites that allows you to chat with a representative of the company:
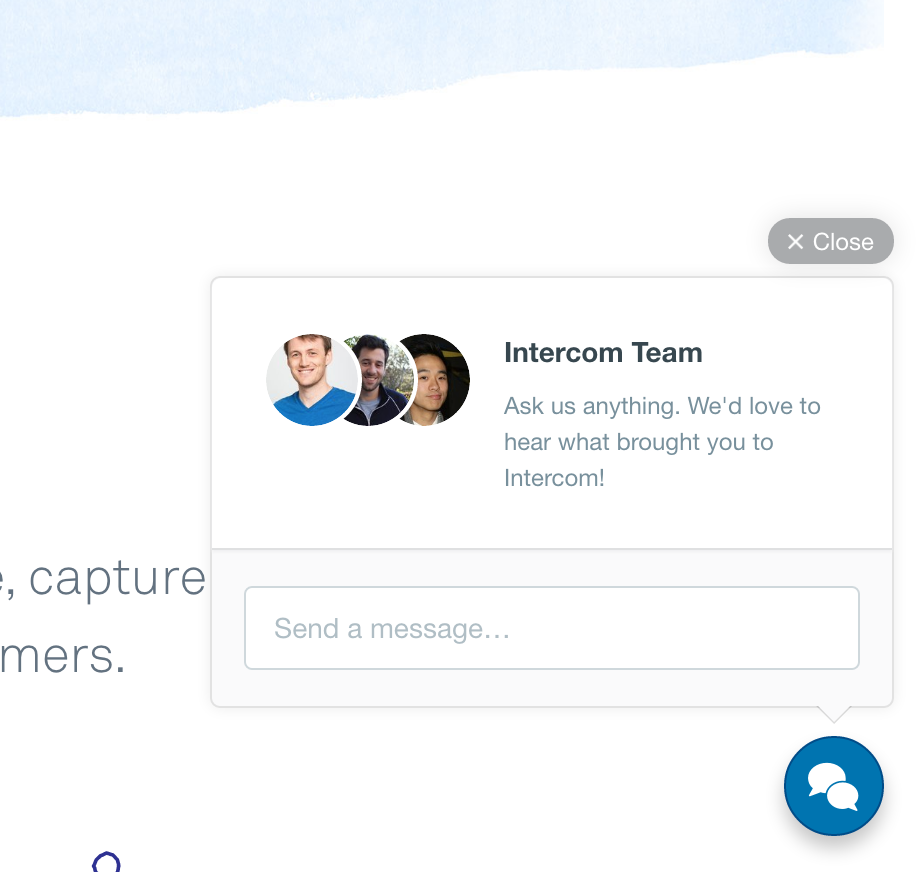
When the chat bubble is clicked, a chat window is overlayed on the page:

We will also want to build a web and mobile app that allows the company representative to easily manage several chats at once. We will model this chat feature on Slack and WhatsApp's web app.
Since we are not especially creative when it comes to naming our projects, we'll call this app PhoenixChat and we will keep a live, production-ready version of the completed app at PhoenixChat.io.
$ mkdir phoenix-chat-api phoenix-chat-frontendNow that we have directories to contain our project, we need to generate the code for our React frontend and Phoenix backend.
Generating the frontend
Now we need to create our React app. Let's create the folder frontend, then enter it and create a Node app with npm init, filling out the command line prompts as necessary (you can also use the -y flag to accept all defaults if you're feeling lazy):
$ cd phoenix-chat-frontend && npm initThat's all you need to do for React at the moment. We will go over React in more detail in the next section.
Frontend directory structure
We are not going to set up the directory structure in advance of the app, but the general structure will be (and for those of you who want to know how the tree below was generated, check out tree):
phoenix-chat-frontend |-- node_modules |-- app |-- components |-- images |-- redux |-- stylesfrontend will contain everything for the frontend of our application. This includes code for our development environment, as well as our production code. This includes our webpack configuration, our package.json file, and everything else we'll need to compile our app into something we can run in production.
app contains just the code that will become our app. This includes our components, our styles, and how all those components fit together.
components will contain all of our React components. This is what renders on the screen and displays our data.
images will contain our static images.
redux will contain our actions, our reducers, and our store. These are the core components of Redux and will be covered in a later chapter.
styles will contain default styling, such as a css reset or other css libraries we might need import.
Overall, the React structure is pretty straight-forward.
Generating the backend
Fortunately, Phoenix makes it easy to generate boilerplate code. We can use mix phoenix.new to create a simple app. We are creating our Phoenix app without Brunch because we are not using Phoenix for our frontend. When you run mix phoenix.new, you will be prompted to fetch and install dependencies. You want to enter y to install your dependencies.
Run the following commands to go back a directory, and create your new app.
$ cd ..$ mix phoenix.new phoenix-chat-api --app phoenix_chat \ --module PhoenixChat --no-brunchThe first command sends you back a directory (we may not include directory changes in the future), then the second command creates your new project within the phoenix-chat-api directory we made earlier.
You probably noticed mix, which is a command line tool that we will use extensively with Phoenix.
We then choose the phoenix-chat-api directory and create a new application called "PhoenixChat". We are passing in the --no-brunch flag because we do not need to render HTML or generate all the boilerplate for a frontend since we are building our frontend with React.
Backend directory structure
The Phoenix generator has taken care of most of our boilerplate for us. The general structure is as follows (with some directories omitted for the sake of brevity):
phoenix-chat-api |-- config |-- deps |-- lib | |-- phoenix_chat |-- priv | |-- repo | |-- static |-- test |-- web |-- channels |-- controllers |-- models |-- static |-- templates |-- viewsconfig contains several files related to configuration. Among the most useful are prod.secret.exs, which can hold all your secret production keys with less risk.
deps contains all the dependencies you installed.
lib contains configuration for your endpoints and your Ecto repositories (don't worry about what that means, we will cover it later).
priv contains all of your data migrations (i.e. a record of all your database changes), and your static files.
test contains all your Elixir tests.
web contains everything related to the web API, including channels, controllers, models, and other useful goodies.
If you do not know what all of this means, do not be concerned. We will go into each of these in greater detail in later chapters as they become relevant. For now, just know that Phoenix has generated most of what we need to get started. Since we are creating a web API, most of what we are interested in lives in the web directory.
